- Home
- Airtightness
- Fixing a Vapour Control Layer
How to Fix Through a Vapour Control Layer.
When you want to fix through a vapour control layer (VCL) with something like staples, proper installation is crucial. The VCL acts as a barrier, preventing moisture from penetrating the building envelope and causing damage to insulation and other components.
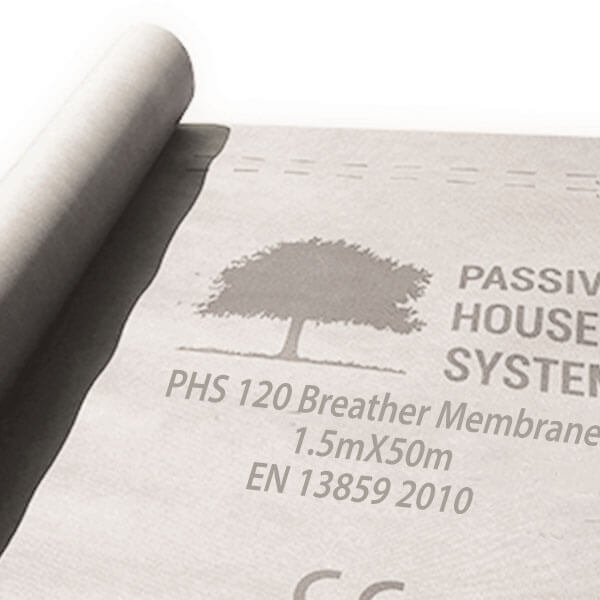 A Vapour Control Layer
So when trying to fix through a vapour control layer you don’t want to be breaching the integrity of the VCL by putting unnecessary holes through it. In this article, we’ll explore the steps and best practices for fixing through a vapour control layer.
There are a few different methods of fixing through a vapour control layer and these include using screws or more commonly, stapling. If using screws always use EPDM washers to provide a good seal and stop the VCL pulling over the screw head.
Another option is to use double sided vapour control layer tape and this means you won’t pierce through the VCL at all and you’ll be able to avoid making holes in the membrane, but if you’re going to be adding a finish over the VCL such as plasterboard, cladding or flooring, the fixing nails or screws who fitting those finishes will pierce the VCL anyway, so using staples is fine.
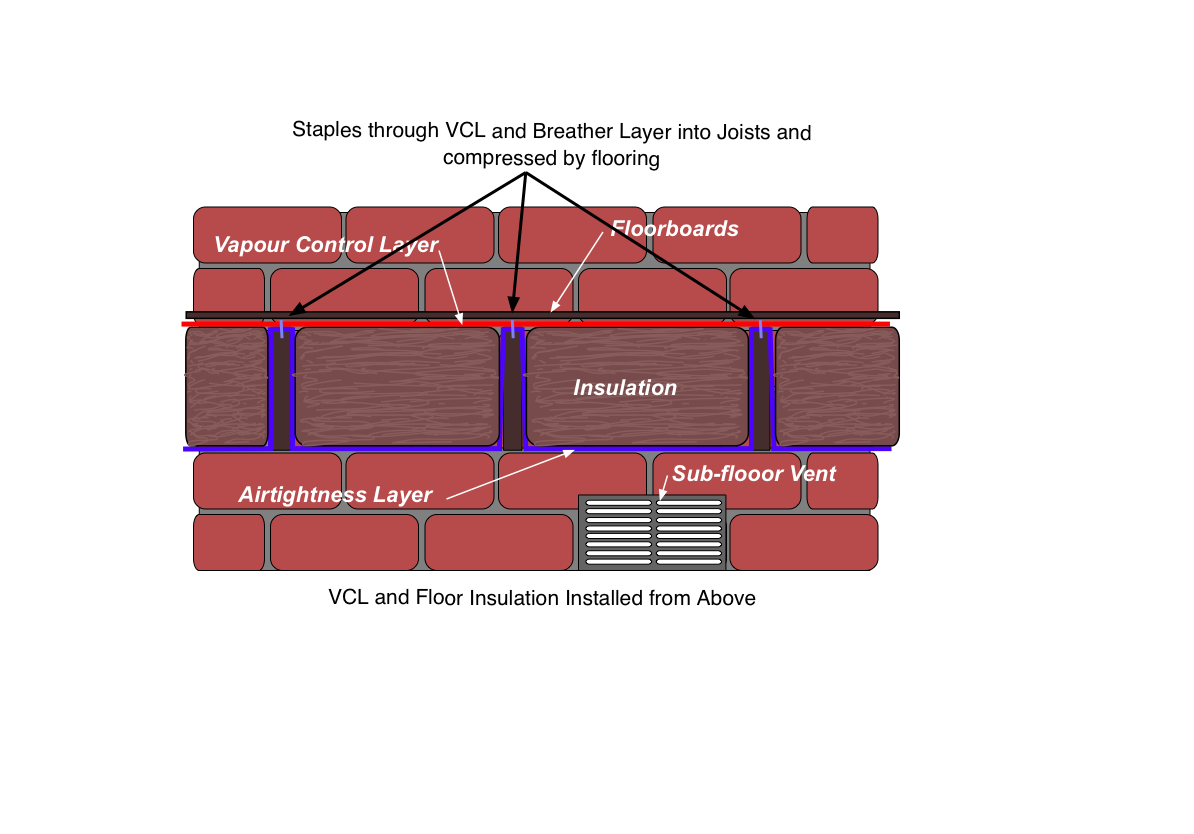
But this is only the case if the staples are put directly into the timber supports, such as studs or joists etc. Then when the finishing layer is added this will be nailed or screwed into the same timber supports, which will in turn compress the vapour control layer between the timber support and the finish material thereby sealing any holes created.
If, however, you manage to miss the edge of the timber support and make a hole in the VCL that won’t be covered and sealed by the addition of the finishing material, then that hole will need to be sealed with VCL tape.
If you are not going to apply a finish over the VCL then I’d suggest either using double sided VCL tape to stick it to the timber supports or staple it and then cover the row of staples with a single sided VCL tape to cover any holes.
Materials Needed to Fix Through a Vapour Control Layer Using Staples:
- Vapour control layer
- Stainless steel staples
- Staple gun or stapler
- Utility knife or scissors
- VCL tape to cover the staples
- Measuring tape
- Straight edge or level
- Safety goggles and gloves (optional but recommended)
Preparation Required to Fix Through a Vapour Control Layer Using Staples:
Step 1: Before You begin
Ensure that the surface where the VCL will be installed is clean, dry, and free from any debris. Measure and cut the VCL material to fit the area accurately, leaving an overlap of at least 100mm (4 inches) at the edges for proper sealing and continuity. If necessary, mark the part of the structure to which you are attaching the VCL to with a straight edge or level to guide your installation.
Step 2: Positioning and Fastening
Start at one corner of the wall, floor or ceiling and position the VCL, ensuring it is flat and taut. For vertical installations, start from the top and work your way down. For horizontal installations, begin at one end and move towards the other.
Using a staple gun, insert stainless steel staples approximately every 150mm (6 inches) along the edges of the vapour control layer. It's important to choose staples that are compatible with the VCL material to avoid damaging or tearing it, so use stainless steel staples.
Step 3: Staple Placement
When placing the staples, aim for the edges of the VCL where it meets the framing timbers, such as studs, floor joists or rafters. This ensures that the VCL is securely attached and creates an airtight seal. Staples should be positioned parallel to the framing members and spaced evenly.
Avoid placing staples too close to the edge to prevent tearing. If fitting the VCL to a suspended timber floor from below you’ll have to allow the VCL to follow the contours of the floor joists and in this instance you’ll have to use vapour control layer tape to cover the staples (see the image below).
Step 4: Overlapping and Sealing
As you progress with the installation, ensure each new sheet of VCL overlaps the previous one by at least 100mm (4 inches) and covers the staples in the edge of the previous VCL sheet. This overlap is essential for creating a continuous barrier against moisture infiltration.
If you do not intend to add a finish such as plasterboard or cladding over the vapour control layer, then in order too retain its vapour control properties, it's essential to seal over the staples. This can be achieved using a suitable VCL tape specifically designed for the purpose. Apply the tape over the staples, ensuring it is firmly pressed down and creates an airtight seal.
Step 5: Completing the Installation
Continue installing the VCL, working your way across the entire surface, whether it's a wall, floor or ceiling. Pay attention to any penetrations, such as electrical outlets or vents, and use appropriate techniques to seal around them, such as service grommets etc.
Step 6: Final Inspection & Seal to Walls
Once the installation is complete, inspect the VCL for any tears, gaps, or loose staples. Address any issues promptly by repairing or replacing damaged areas. It's crucial to maintain the integrity of the VCL to ensure its effectiveness as a moisture barrier.
Your final step will be to seal the edges of the vapour control layer with the walls, floor or ceiling and this is typically done using tape after treating any masonry with a suitable primer and adhesive (as these will allow the tape to stick to the masonry effectively).
The links below will take you to a partner site where you can buy the various products you'll need. These contain affiliate links for which I may make a small commission at no extra cost to you, should you make a purchase. Any commission made allows us to keep this site free for everyone to use.
Materials You May Need to Do This:

An Underfloor Insulation "Kit"
Passive House Systems have worked with us to put together an "Underfloor Insulation Kit", (this can also be used for fitting loft insulation), which includes the most common items you'll need to do the job correctly. They give you the sizes of each item, so you can figure out how much you'll need. Then it's as simple as clicking the number of each item you want. Plus it's all on one page so you don't have to hunt around their site to find everything.
Plus buying it this way will save you 10%.
The kit includes:
- A Vapour Control Layer (VCL) - installed on the warm side of the insulation
- A breather membrane - installed on the cold side of the insulation.
- Tape - to stick and join the vapour control layer (used for internal taping, so, jointing of vapour control layers, covering staples and sealing around services etc).

Your choice of natural insulation.
Other Materials You Might Need:
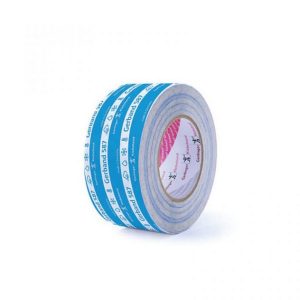
Tape to stick and join the breather layer (used for covering staples and sealing around services etc. that go through the breather layer. As this layer is located on the cold side of the insulation this is a waterproof tape).
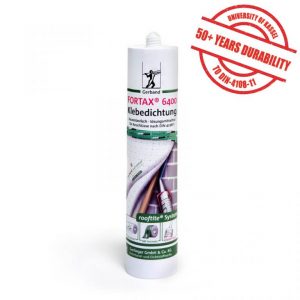
1. Adhesive to stick either the VCL or the breather membrane to masonry walls - where the VCL or breather layer meets a masonry wall this is used, if you don't need to plaster over the finished joint, (it should be used in conjunction with a primer, see below).
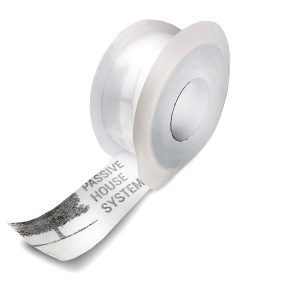
1a. If however you want to plaster over the joint between the breather layer OR the VCL and a masonry wall, then you would use this tape - (it should be used in conjunction with a primer, see below).
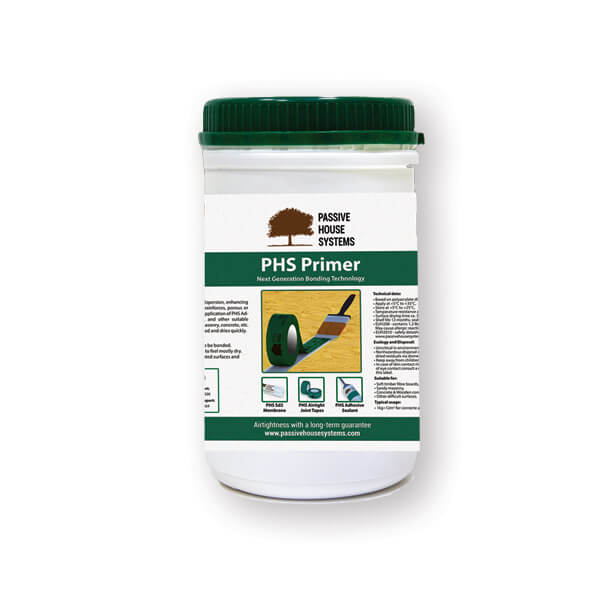
NB. prior to sticking the VCL or the breather membrane to a masonry wall with either of the above two products you will need to use a spray on or paint on primer.
To Fix Through a Vapour Control Layer, Summary:
In conclusion, properly fixing through a vapour control layer (VCL) using staples can be done. Remember to prepare the surface, position and fasten the VCL accurately, place the staples strategically, maintain proper spacing, overlap and seal the edges, and complete the installation with attention to detail. By taking these measures, you can create a reliable vapour control barrier that protects your building from moisture infiltration, contributing to its overall durability and performance.
You may find that if you’re installing your VCL from above (in the case of a suspended timber floor or when installing the VCL in an open loft area you don’t need staples, as you can use double sided VCL tape to hold it in place and this method also does away with the need to pierce any holes in the vapour control layer.
There is no hard and fast rule as to which method is best and it will depend on the type of application and personal choice. But realistically you’ll likely use a mixture of both, as staples are quick and easy to install and they’re cheaper than using double sided VCL tape. But don’t forget to cover any staples with a layer of single sided VCL tape if you’re not applying a finish over the VCL.





New! Comments
Have your say about what you just read! Leave me a comment in the box below.